Custom 3D Modeling for 3D Printing
Six Steps, From What You Have to a Part That Fits.
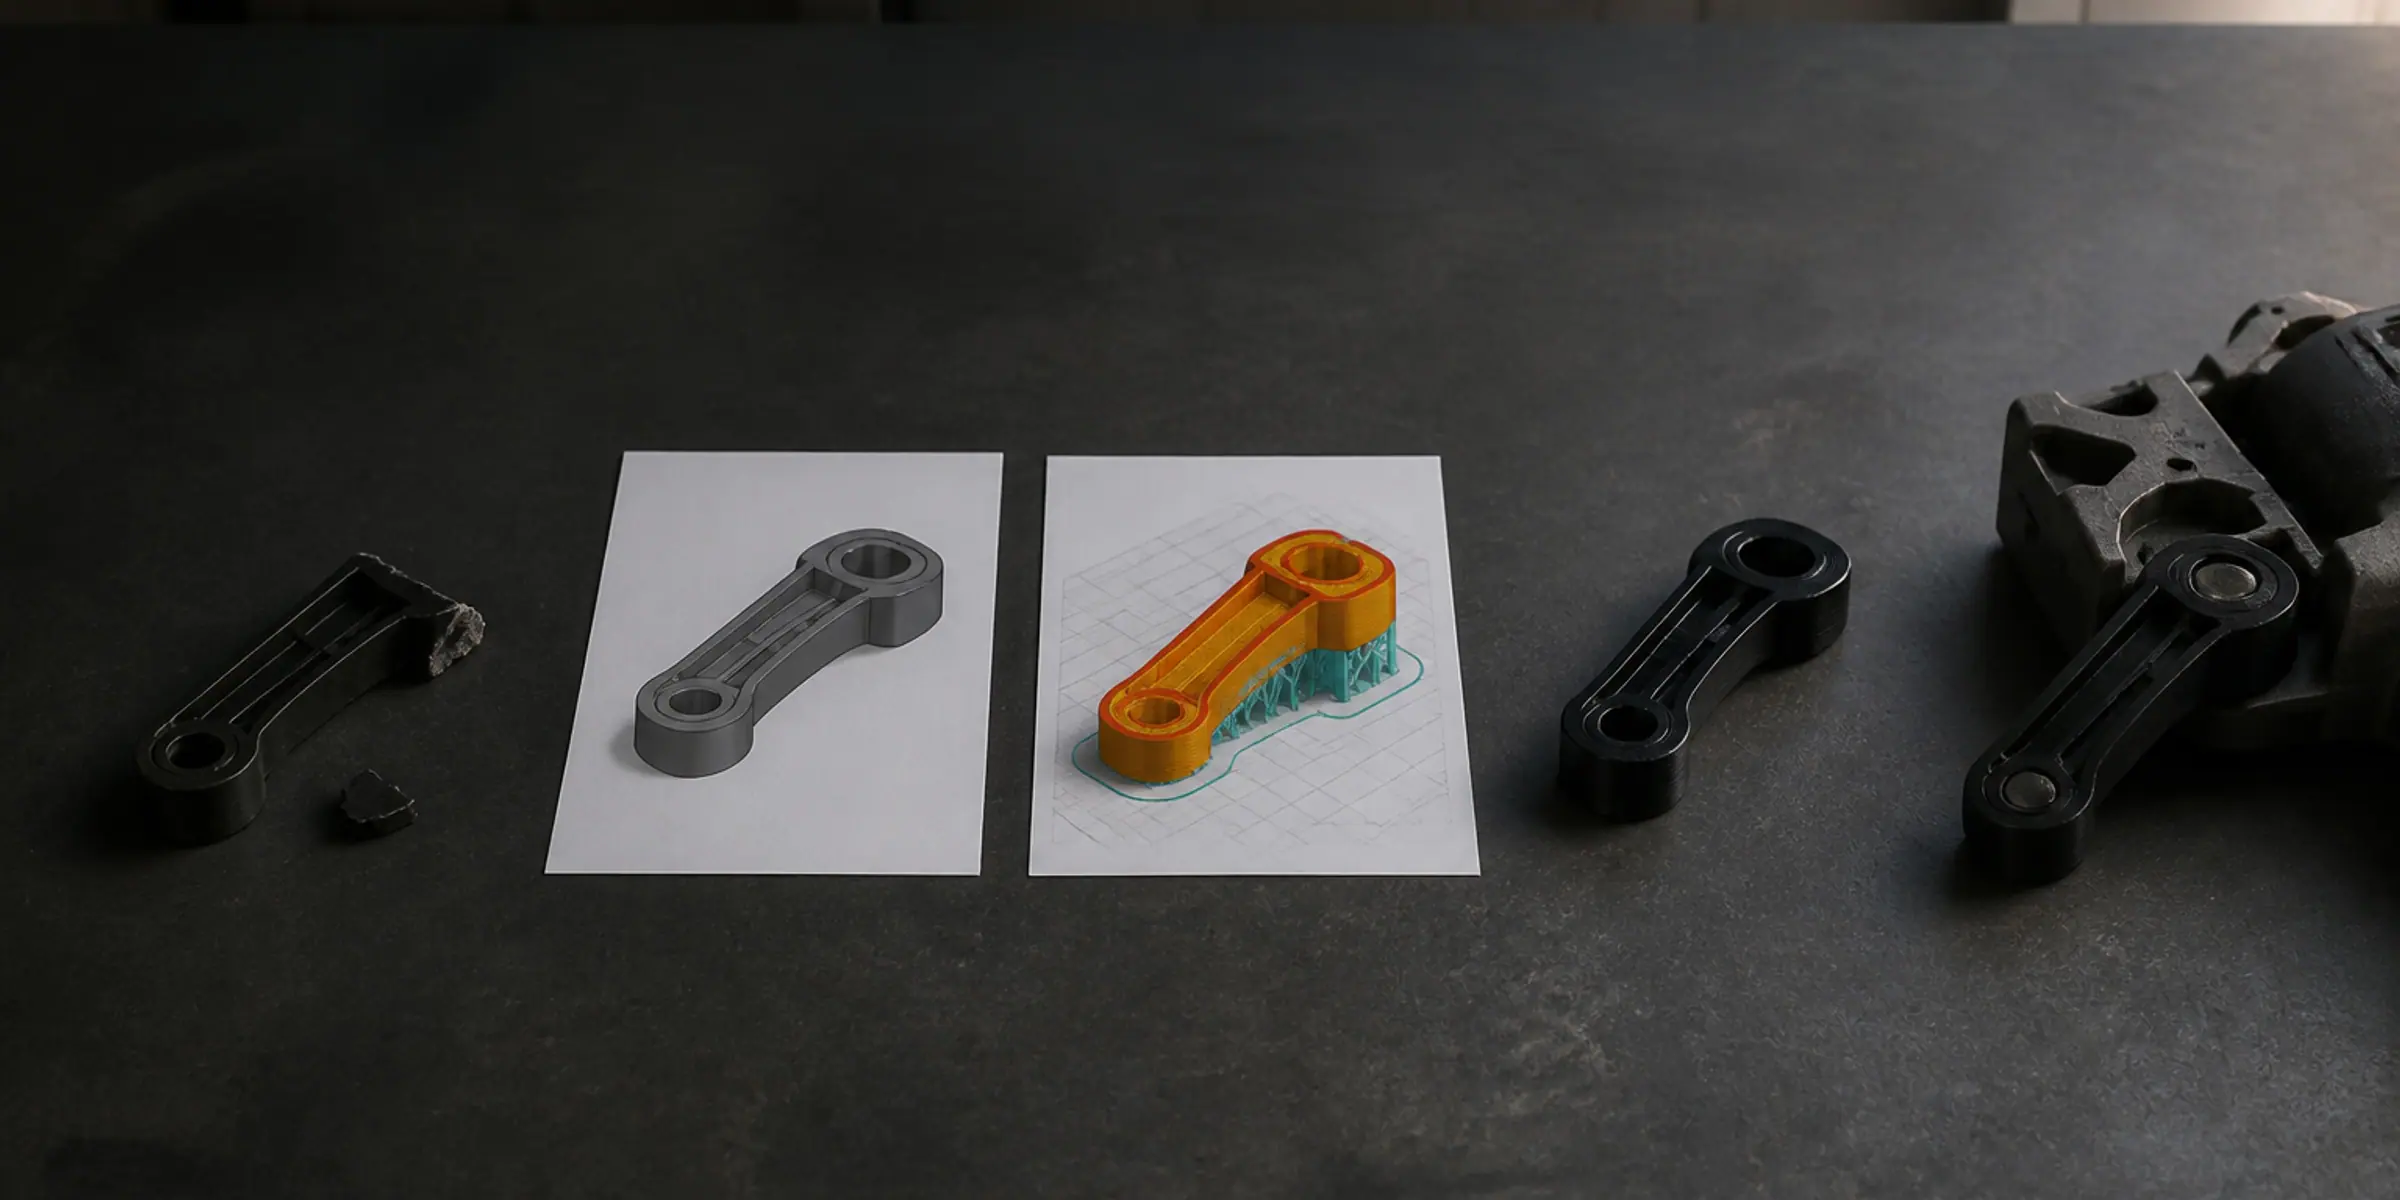
A project starts with whatever you already have and ends with a file you can print. In between there are six steps, and the same six steps run every time: you upload, we review, you get a quote, we build the model, we verify that it will print, and then, only if you want it, the part is printed and shipped. You do not need CAD software, a scanner or a technical drawing to begin. A phone photo, a hand sketch with a few dimensions, or a broken part in your hand is enough for step one. Nothing is printed and nothing is finalised until you have seen the model and approved it.
Six steps, in the order they happen
Every project moves through the same six steps: Upload, Review, Quote, Model, Verify, and Print / Deliver. The order is not decoration. Nothing is modelled before we know what information is missing, nothing is printed before the model has been verified, and nothing is finalised before you have seen it.
For each step below, the same three things are stated: what you provide at that point, what we do with it, and what exists at the end of the step that did not exist before.
What each step asks of you, and what it returns
- Upload — you send photos, a sketch, a broken part, an existing file, a measured drawing, a scan, or a written description; it does not need to be tidy or complete. We read all of it against the interfaces the part has to fit, and the step ends with a short written list of what we already have and what is still missing.
- Review — you answer a few specific questions if something cannot be read from what you sent. We confirm whether the information is actually enough to model from, and the step ends with an agreed scope: what will be modelled, to which dimensions, and which assumptions we will make.
- Quote — you tell us whether you also want the part printed and where it has to arrive. We price the modelling, keep any printing or finishing as a separate line, and the step ends with a fixed project price you can accept or decline.
- Model — you send corrections that come up while the model is being built. We build the solid model to the measured dimensions and to the print process, and the step ends with a revision you can open, rotate and inspect before anything is produced.
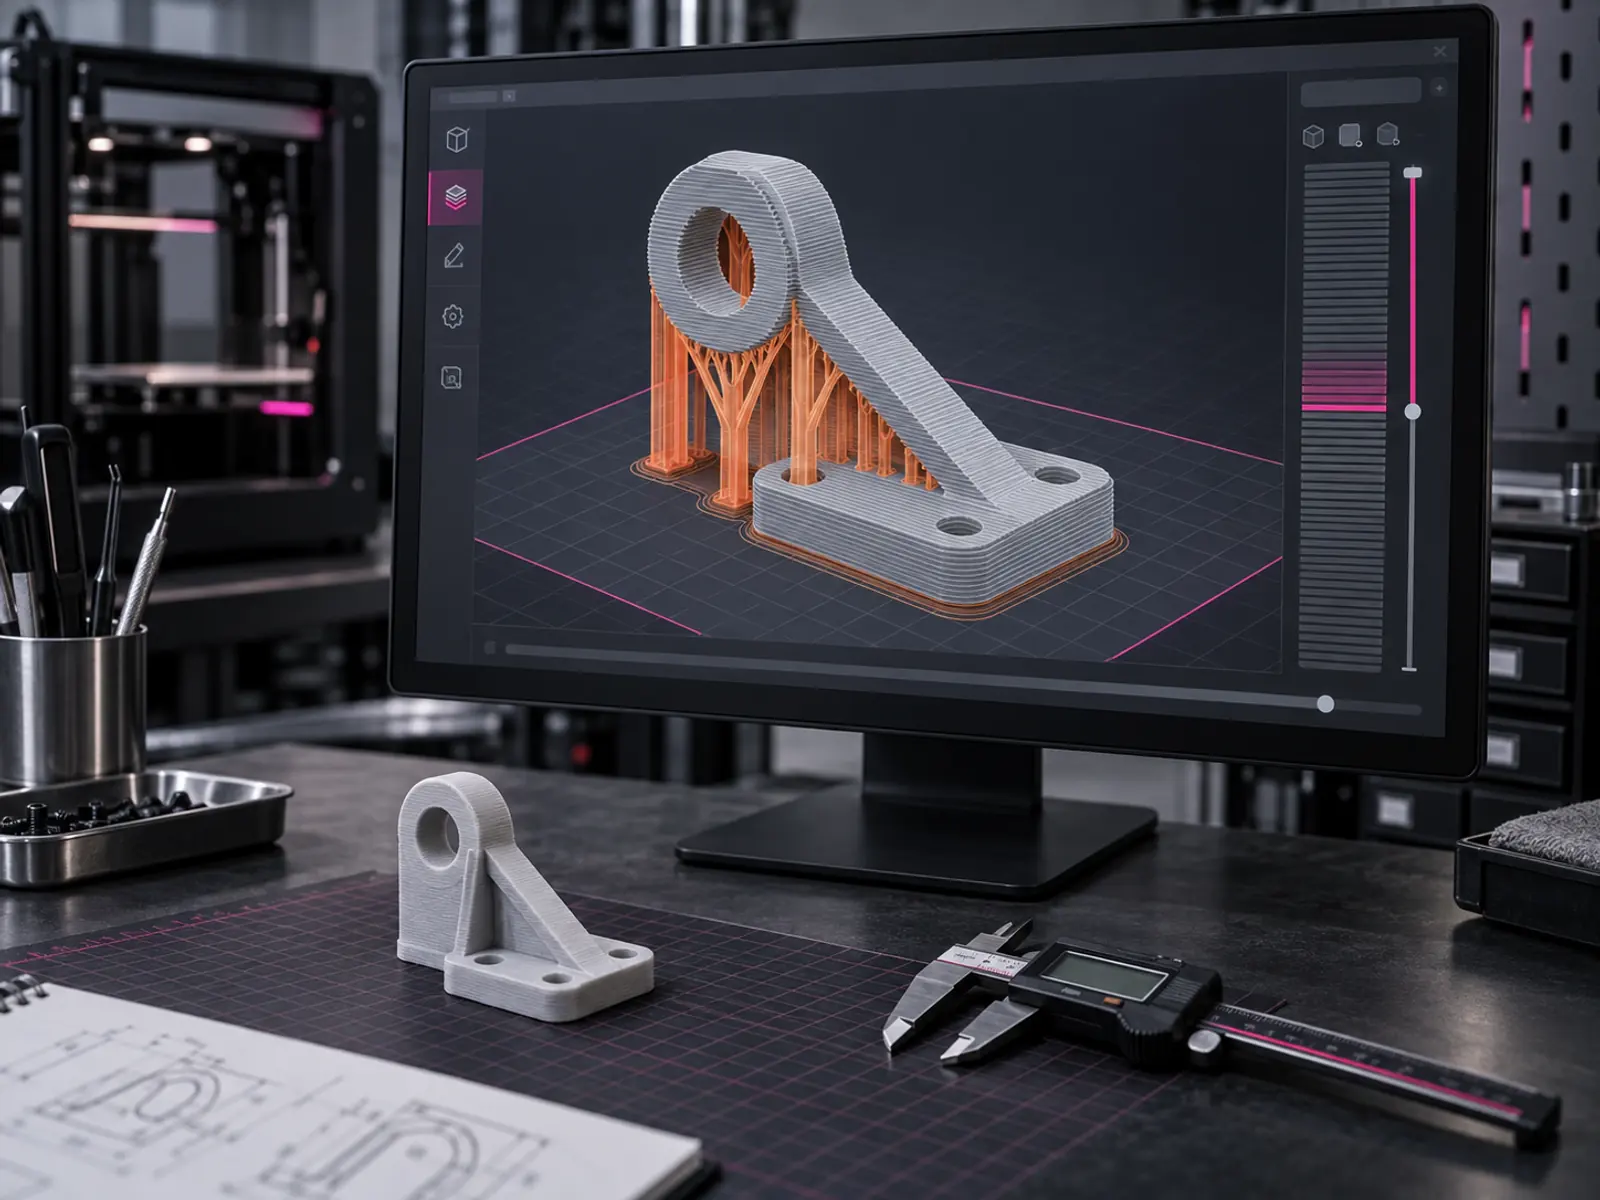
- Verify — you review the check report and confirm the critical dimensions. We test wall thickness, overhangs, clearances, hole and thread sizes and watertightness, and the step ends with a model that slices cleanly. A model that cannot print is not finished.
- Print / Deliver — you decide whether to print with us, print locally, or stop at the files. If you choose printing we print, inspect and ship the part; if not, the step ends with your deliverable files: print-ready STL, STEP, 3MF or editable CAD.
What we check before a model counts as finished
Verification is not a formality squeezed in at the end. It is the step where a model that looks right on screen is separated from a model that will actually assemble and survive use.
- Watertightness — no holes, no flipped faces and no zero-thickness walls, so the slicer produces a solid toolpath instead of guesswork.
- Wall thickness — set for the process and for the load the part carries, rather than left at whatever default the modelling tool suggested.
- Overhangs and orientation — the part is placed the way it will really print, so supports land where they can be removed without damaging the surface.
- Clearances and fits — holes, slots, threads and snap features are sized to assemble after printing, not sized on screen where nothing shrinks.
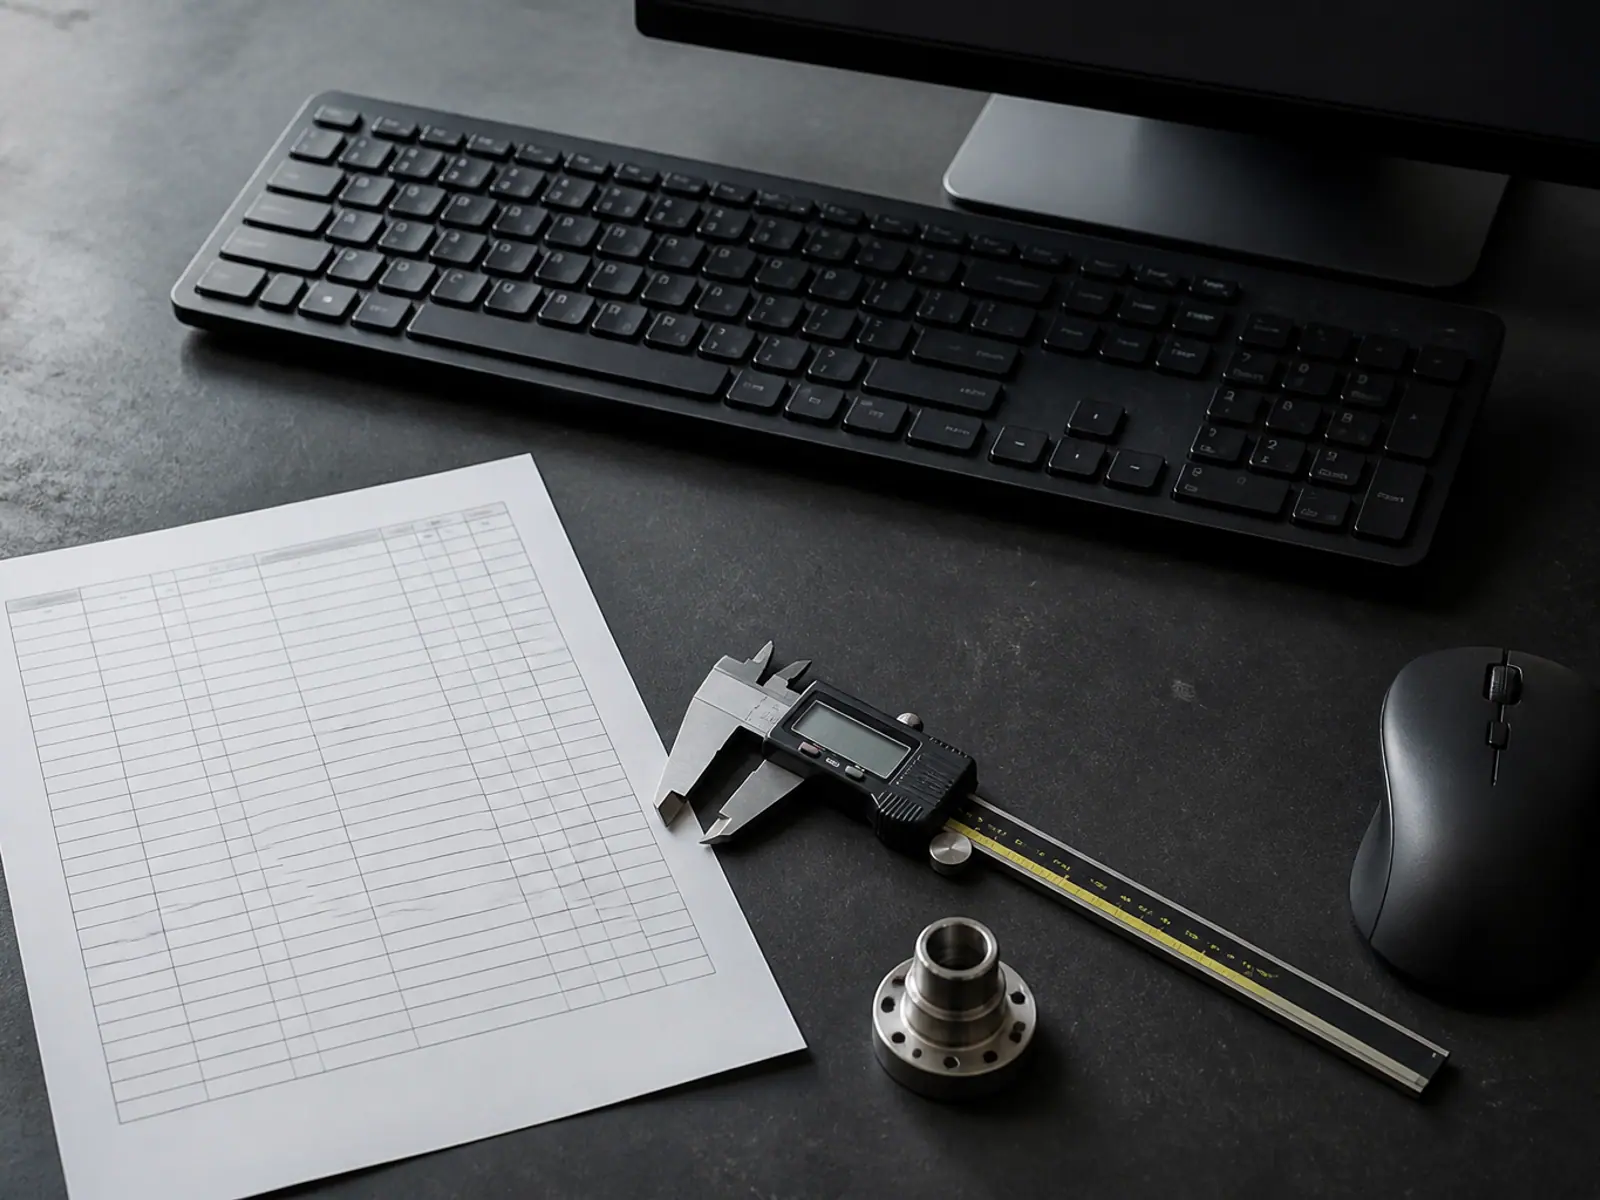
- Critical dimensions — the interfaces you measured are re-checked against the model, one by one, before the file is released.
- File integrity — the exported STL, STEP or 3MF opens as a single closed solid in a clean viewer, not as a mesh that only looks closed in one program.
Where projects stall, and how it is handled
Almost every delay comes from one of three places, and each has a routine answer.
| Stage | What holds it up | What we do about it |
|---|---|---|
| Review | Photos that never show the mating surfaces | We send back a short list of exactly which measurements to take, and nothing is charged while that is outstanding. |
| Model | A dimension that cannot be confirmed from anything you sent | We mark the assumption in the file and flag it before release, instead of quietly guessing and hoping the fit is forgiving. |
| Verify | A wall too thin, or a shape that cannot print in one piece | We propose a change of section, a different orientation, or a split part, and you decide before anything is made. |
Printing is a separate, optional step
The model is what you are buying. If you also want a physical part, we can print a prototype, a functional part or a small batch, and inspect it before it ships. If you would rather take the files to a printer you already use, that is a completely normal ending to the process.
Once the model is approved, we package the agreed STL, STEP, 3MF or editable CAD files and send a download link by email. Larger file packages can be delivered through SwissTransfer, with the transfer link sent to the same project email thread.
Google Drive, OneDrive, Dropbox or WeTransfer are also possible when they fit your workflow. The delivery method changes, but the rule does not: the final package is sent after approval, and you should download it and keep your own backup.
It is also the step where fit gets proven. A test fit on a printed prototype is cheap; a revision after a batch has been produced is not, which is why the order of the six steps never gets rearranged for speed.
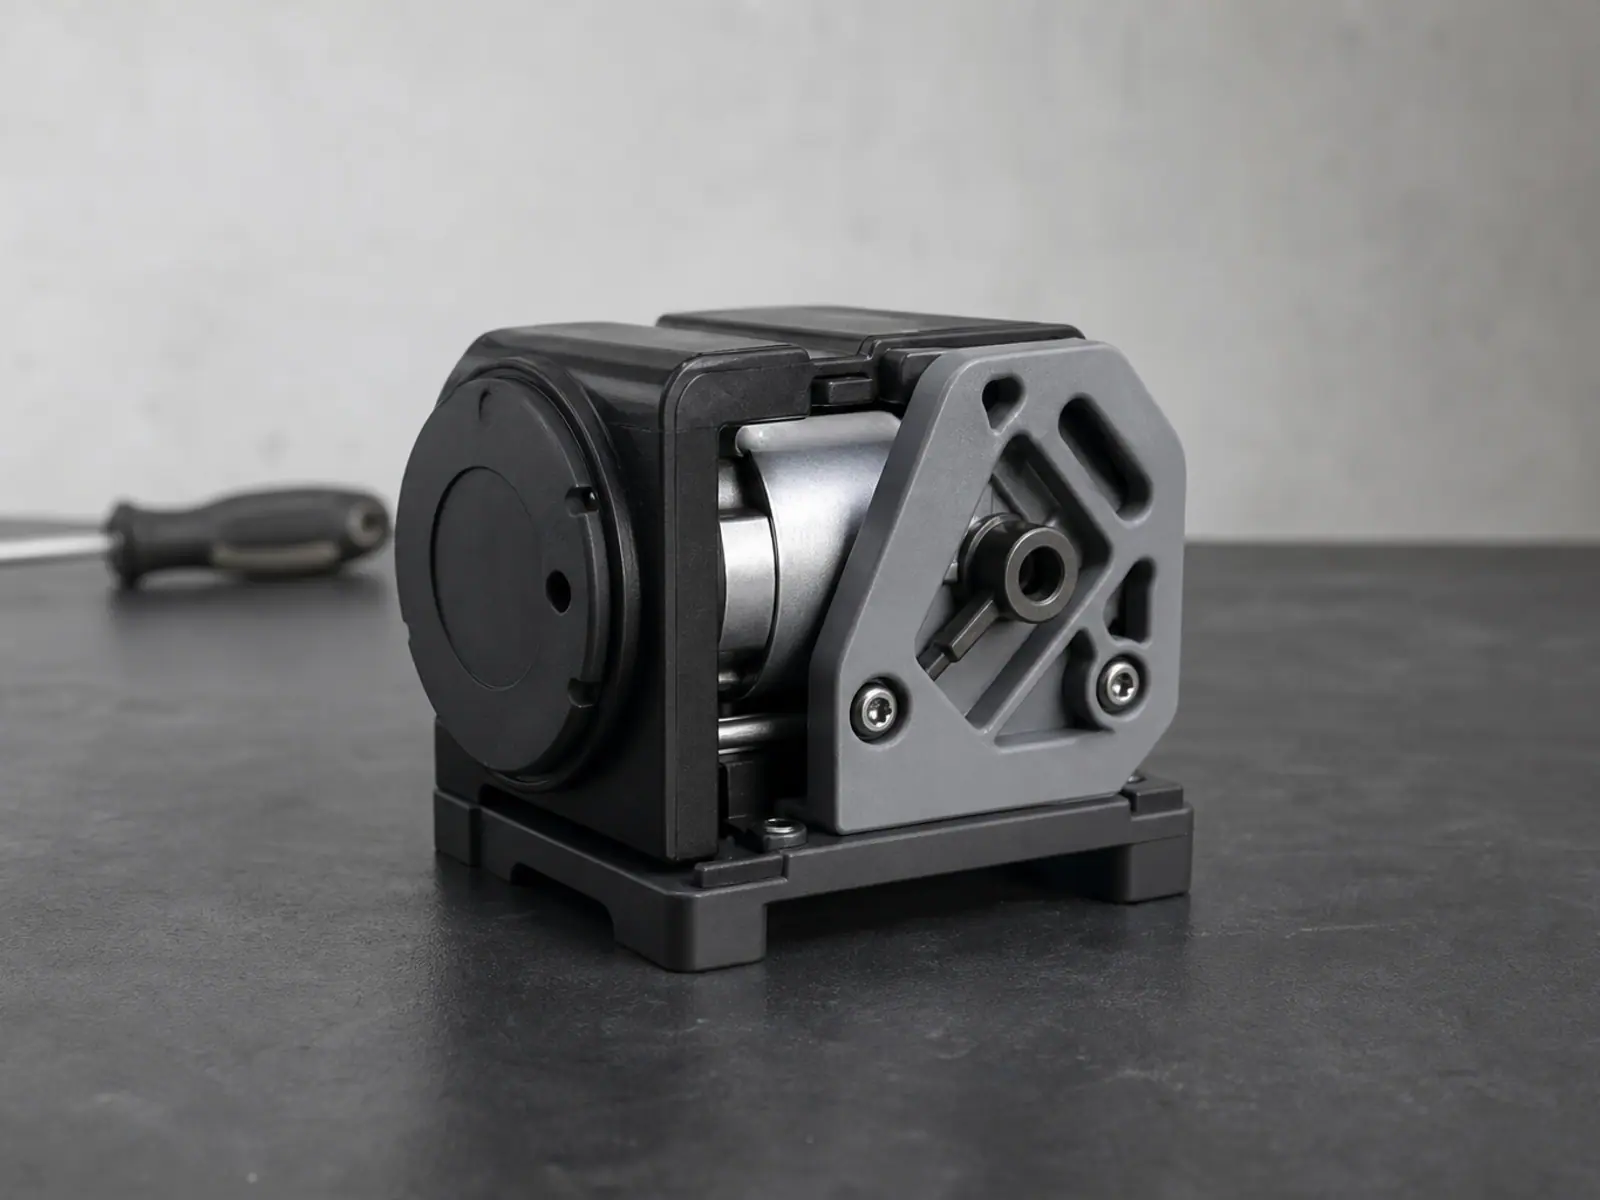
Nothing is printed and nothing is finalised until you have seen the model and approved it.
Related services
Frequently asked questions
Frequently asked questions
Do I have to know what kind of file I need?
How long does each of the six steps take?
What if I only want the file and not the printed part?
Can the design change after the model has been built?
What happens if my information is not enough to model from?
Is my project kept confidential through all six steps?
Six Steps, From What You Have to a Part That Fits.
A project starts with whatever you already have and ends with a file you can print. In between there are six steps, and the same six steps run every time: you upload, we review, you get a quote, we build the model, we verify that it will print, and then, only if you want it, the part is printed and shipped. You do not need CAD software, a scanner or a technical drawing to begin. A phone photo, a hand sketch with a few dimensions, or a broken part in your hand is enough for step one. Nothing is printed and nothing is finalised until you have seen the model and approved it.