
Custom 3D Modeling for 3D Printing
Your Photos Are Enough to Model From.
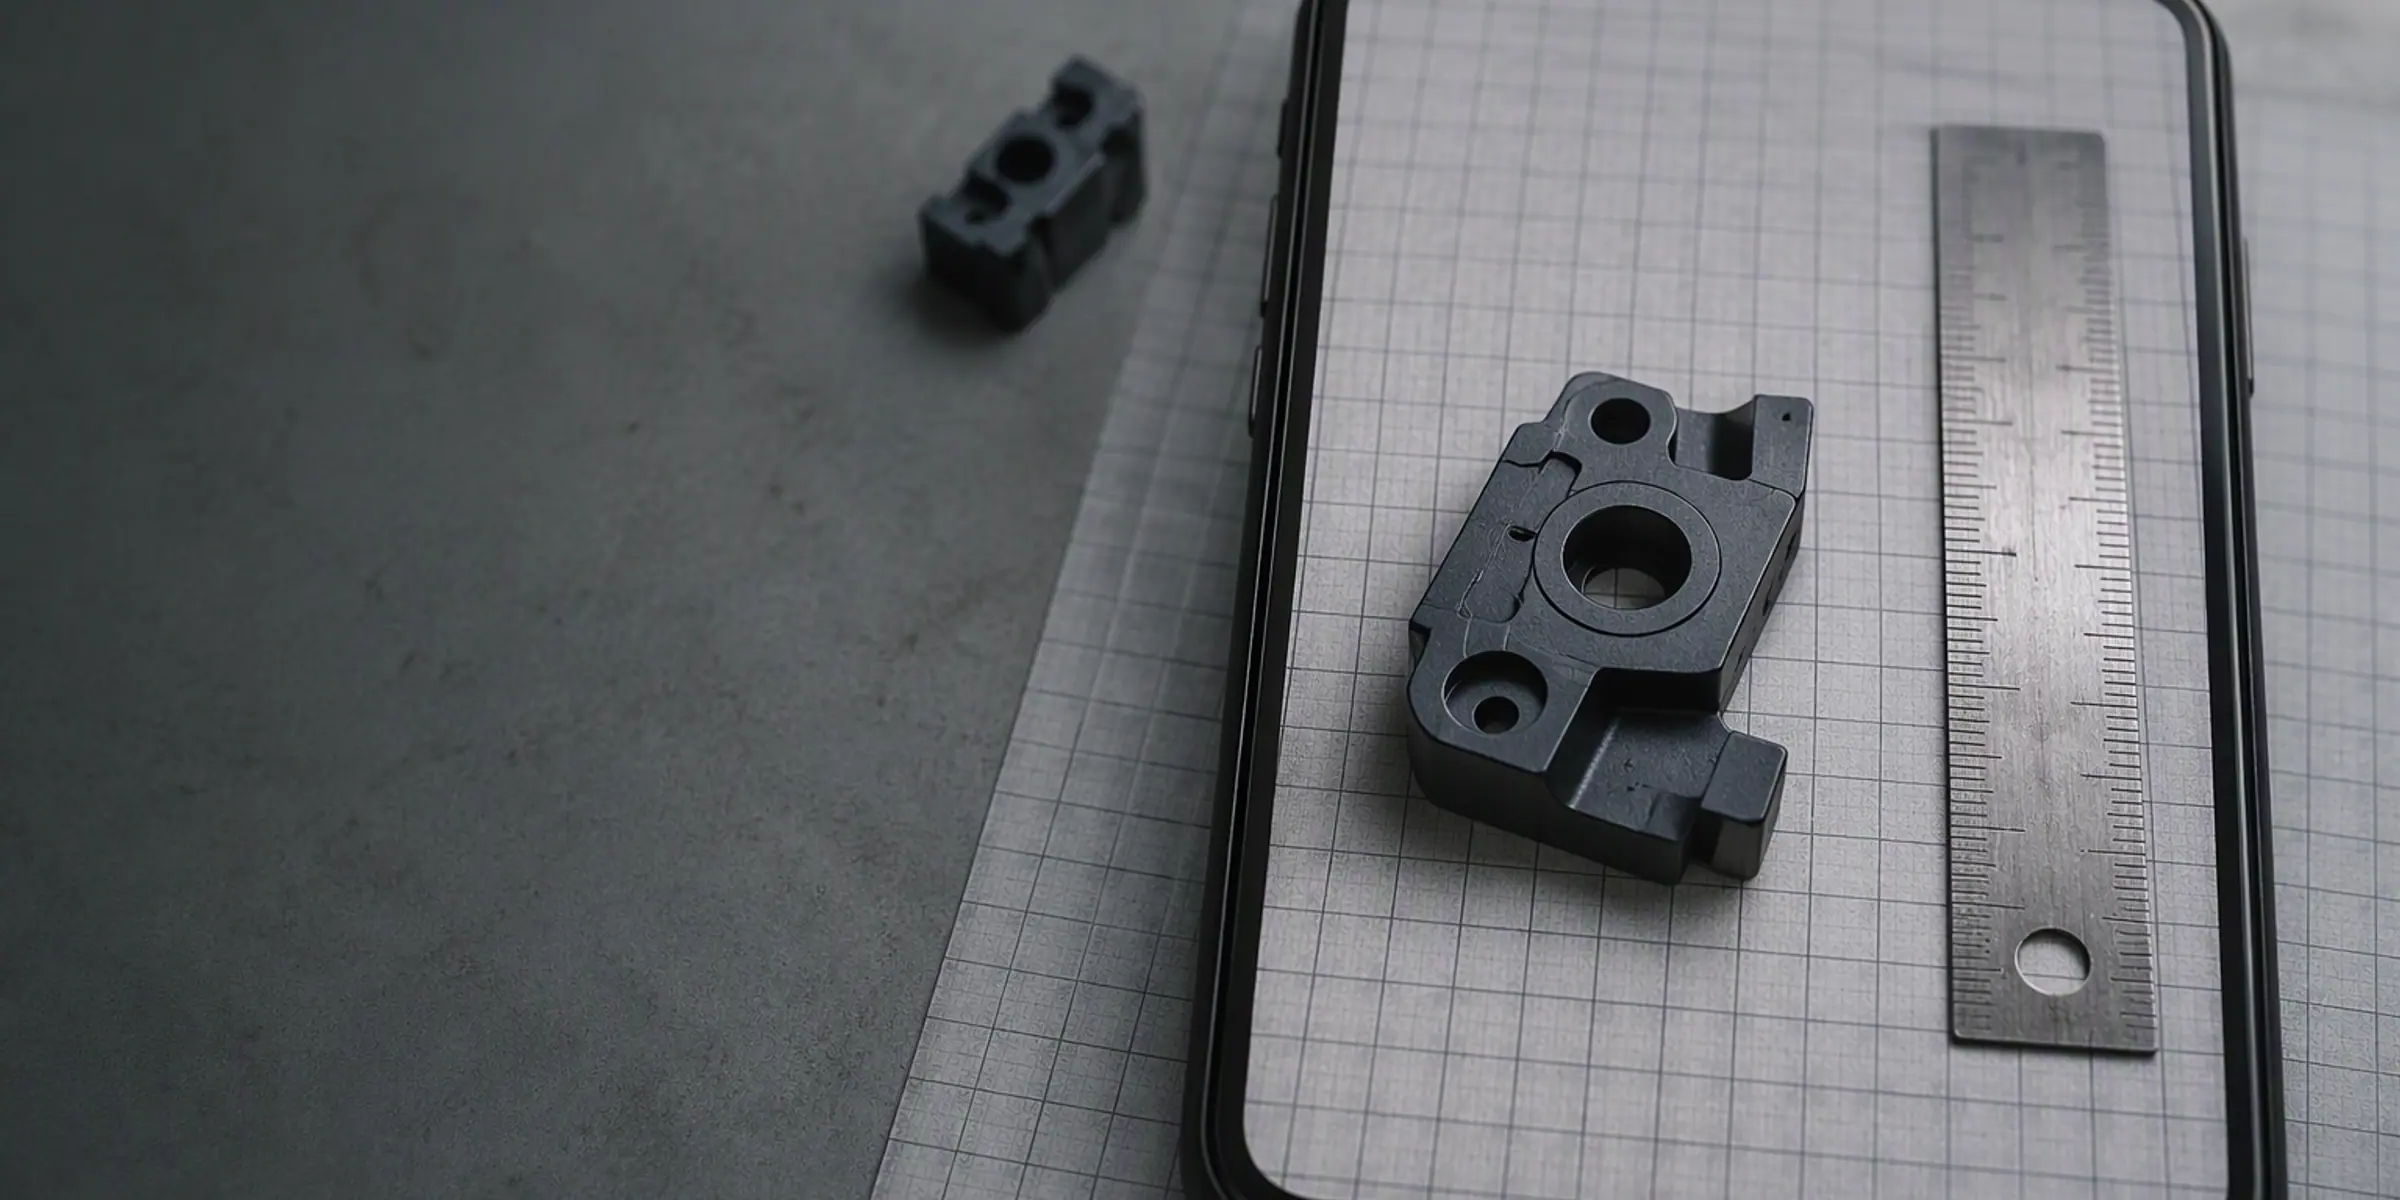
Photos are usually enough to start, but not every photo is useful. What we need is coverage and scale: the part shot from at least four sides, filling the frame, with something of known size in every image — a steel rule, a coin or a sheet of graph paper. A dimension visible in the photo is worth more than a number typed in a message, because it can be checked against the geometry. If the part has threads, splines, seals or a press fit, say which of those has to hold; those interfaces get measured, and the rest of the model is built around them. You do not need a scanner and you do not need to draw anything.
What a photo can and cannot tell us
A photo fixes shape. It shows where a rib runs, how a boss sits, which face is flat and which one is drafted. That is usually more than half of what a model needs. What a photo cannot give us is absolute size: a part photographed at arm's length and the same part shot close up look identical in the frame, at completely different scales.
So the work splits in two. The photographs establish the geometry, and a small number of measurements establish the scale and the fits. If you can only measure one thing, measure the distance between two features that another part touches — the bolt hole spacing on a mounting face, or the outer diameter of a shaft that has to slide in.
What to photograph, and in what order
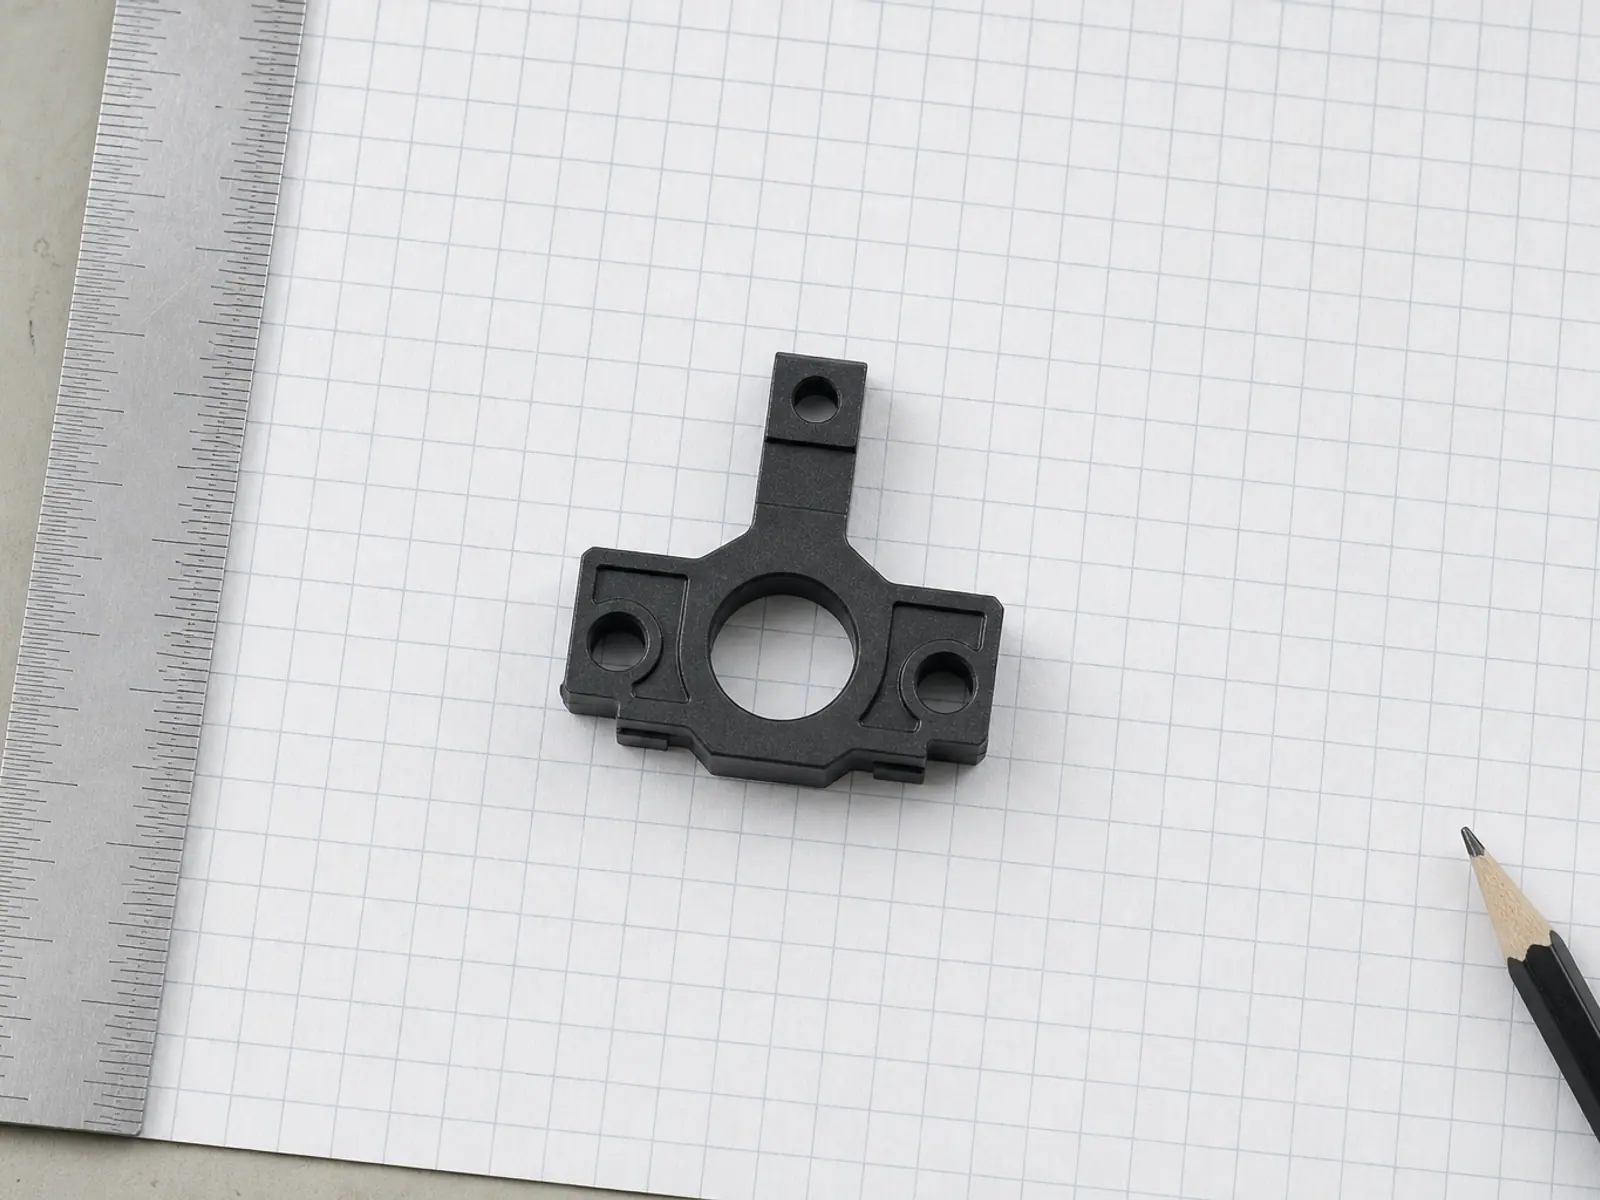
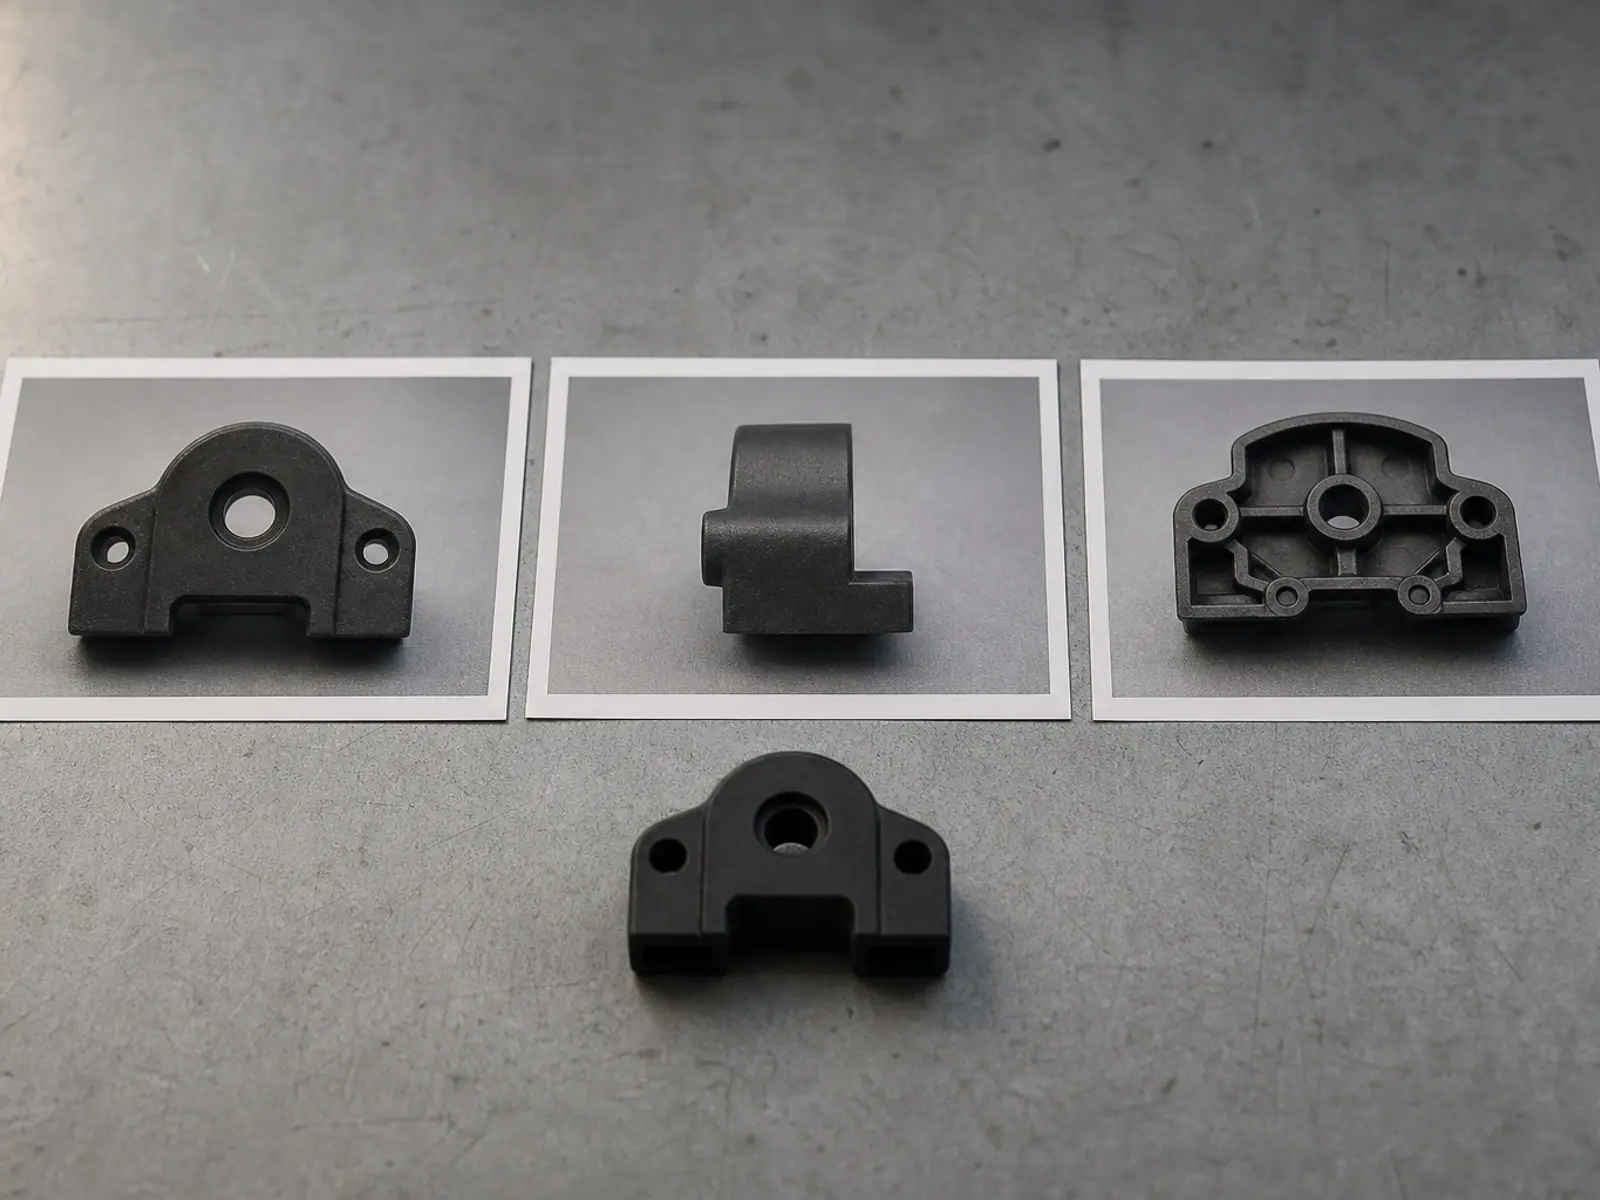
- Whole part, one shot per side — front, back, both flanks, and top and bottom if the shape is not symmetric. Four to six photos is the usual working set.
- One shot straight down onto each flat face, camera parallel to the surface, so we can read the outline without perspective distortion.
- Close-ups of every feature that mates with something else: holes, slots, threads, seal grooves, snap fits, the inside of a bore.
- One photo of the damage if the part failed, taken square to the fracture rather than at an angle, plus a shot of the pieces laid back in position.
- One overall photo with the part next to a rule or a coin, so the frame itself carries a scale.
Measure these five things even when the photos look good
Photos plus five measurements cover most parts. If a dimension is awkward to reach, send the closest measurement you can take and say where you took it — a slightly wrong number with a clear reference point is far easier to correct than a number with no origin.
- Overall length, width and height, taken on the part itself rather than on its packaging.
- Centre-to-centre distance of every pair of mounting holes, plus the hole diameter.
- Thickness of the walls that matter: the ones carrying load, and the ones that have to flex or snap.
- Diameter and depth of any bore, and whether it is a clearance fit, a press fit or a threaded interface.
- The gap the part has to go back into — measure the receiving housing, not only the part that came out of it.
Shoot against a plain background with light coming from the side. Flat frontal flash flattens the surface and hides exactly the shapes we need to read.
From your photo set to a printable file
Once the photo set and the measurements are in, we tell you what is still missing before any modelling starts — usually one or two features the photos cannot resolve, such as the depth of a blind hole or the angle of a draft. That reply normally goes out inside the three-hour target.
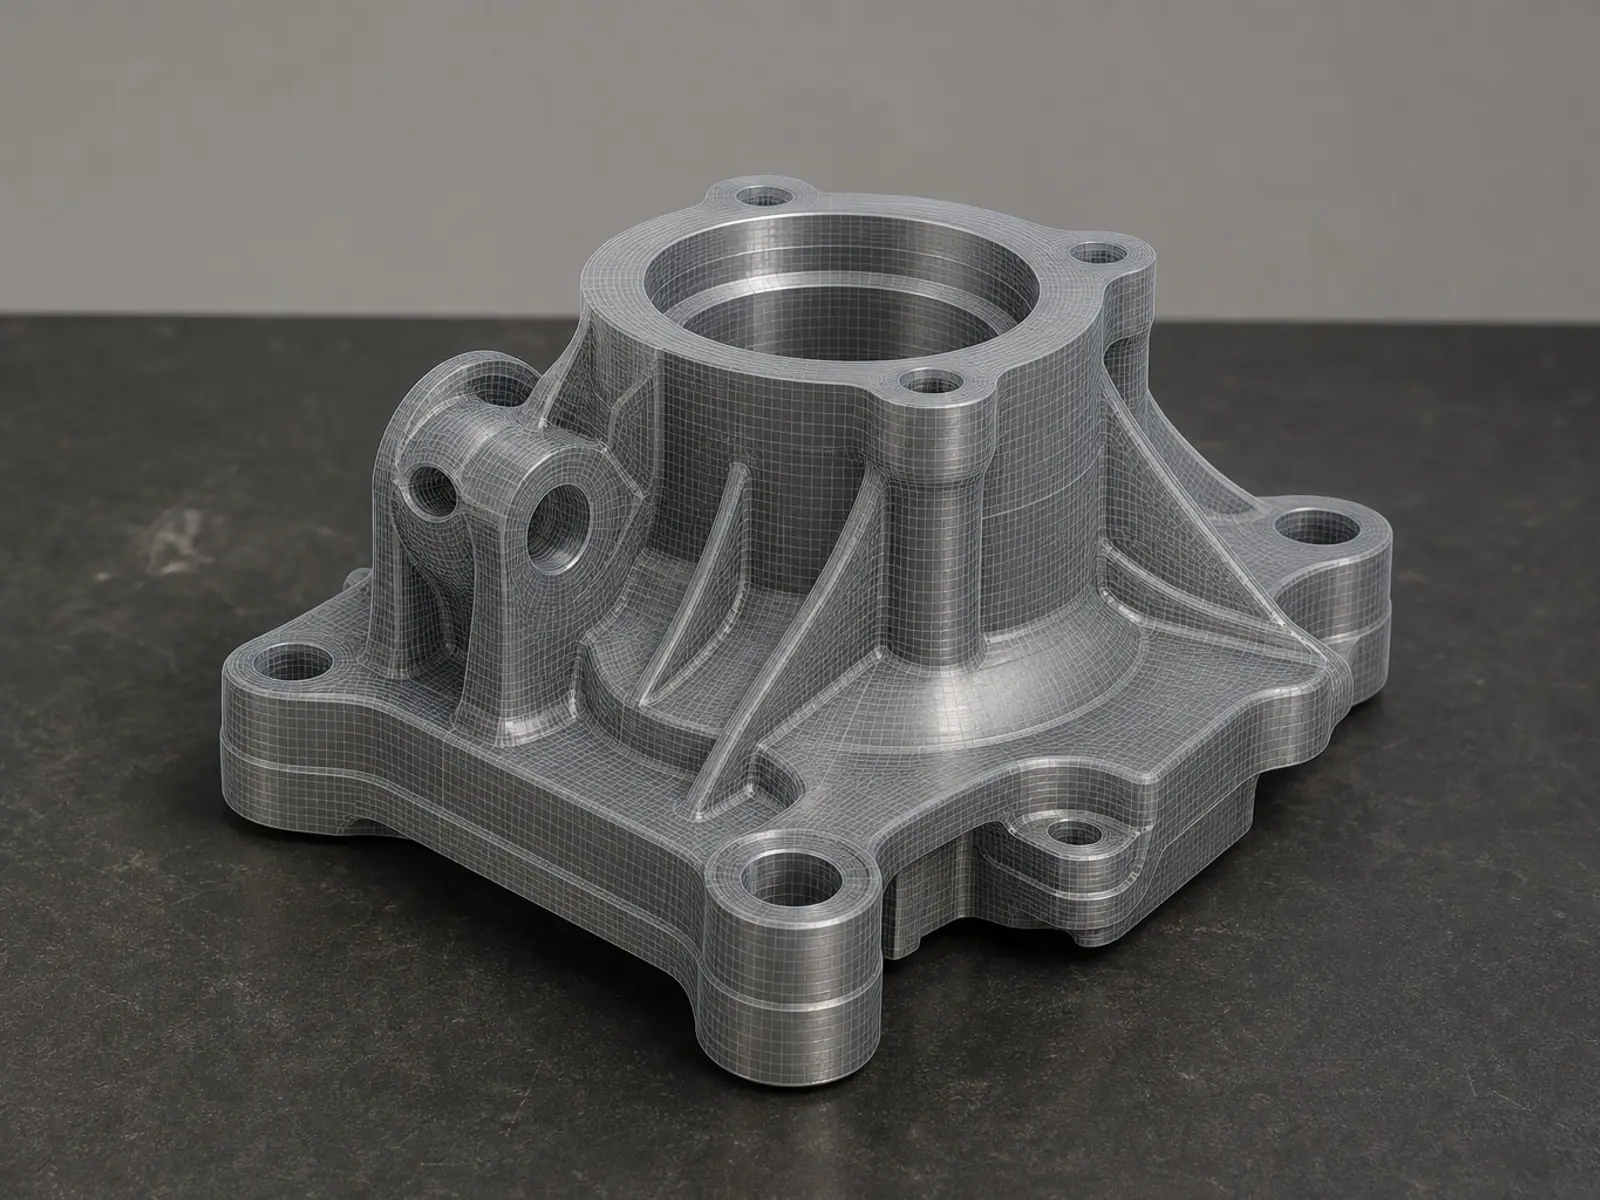
The model is then built for the print process, not just for the shape: wall thickness set for the material, orientation chosen so the load runs along the layers instead of across them, and clearances checked so the part assembles on the first attempt. You receive print-ready STL, STEP or 3MF, and an editable CAD file when the project includes one.
When a photo is not the right starting point
Photos work well for parts with recognisable flat and cylindrical features. They stop working for heavily organic surfaces, deep internal cavities you cannot see into, and small parts where a single millimetre of error matters. In those cases a physical part posted to us, scan data, or a handful of added measurements does the job that photos cannot.
If you are unsure whether your photos are usable, send them anyway and ask. Reviewing what you already have comes before any quote.
Related services
Frequently asked questions
Frequently asked questions
How many photos do you actually need?
Can you create an STL from photos alone, with no measurements?
What should I put in the photo for scale?
Do you need the physical part in your hands?
How do I photograph a hole or a thread?
What do I receive at the end?
Your Photos Are Enough to Model From.
Photos are usually enough to start, but not every photo is useful. What we need is coverage and scale: the part shot from at least four sides, filling the frame, with something of known size in every image — a steel rule, a coin or a sheet of graph paper. A dimension visible in the photo is worth more than a number typed in a message, because it can be checked against the geometry. If the part has threads, splines, seals or a press fit, say which of those has to hold; those interfaces get measured, and the rest of the model is built around them. You do not need a scanner and you do not need to draw anything.