
Custom 3D Modeling for 3D Printing
Your Drawing, Rebuilt as Print-Ready CAD.
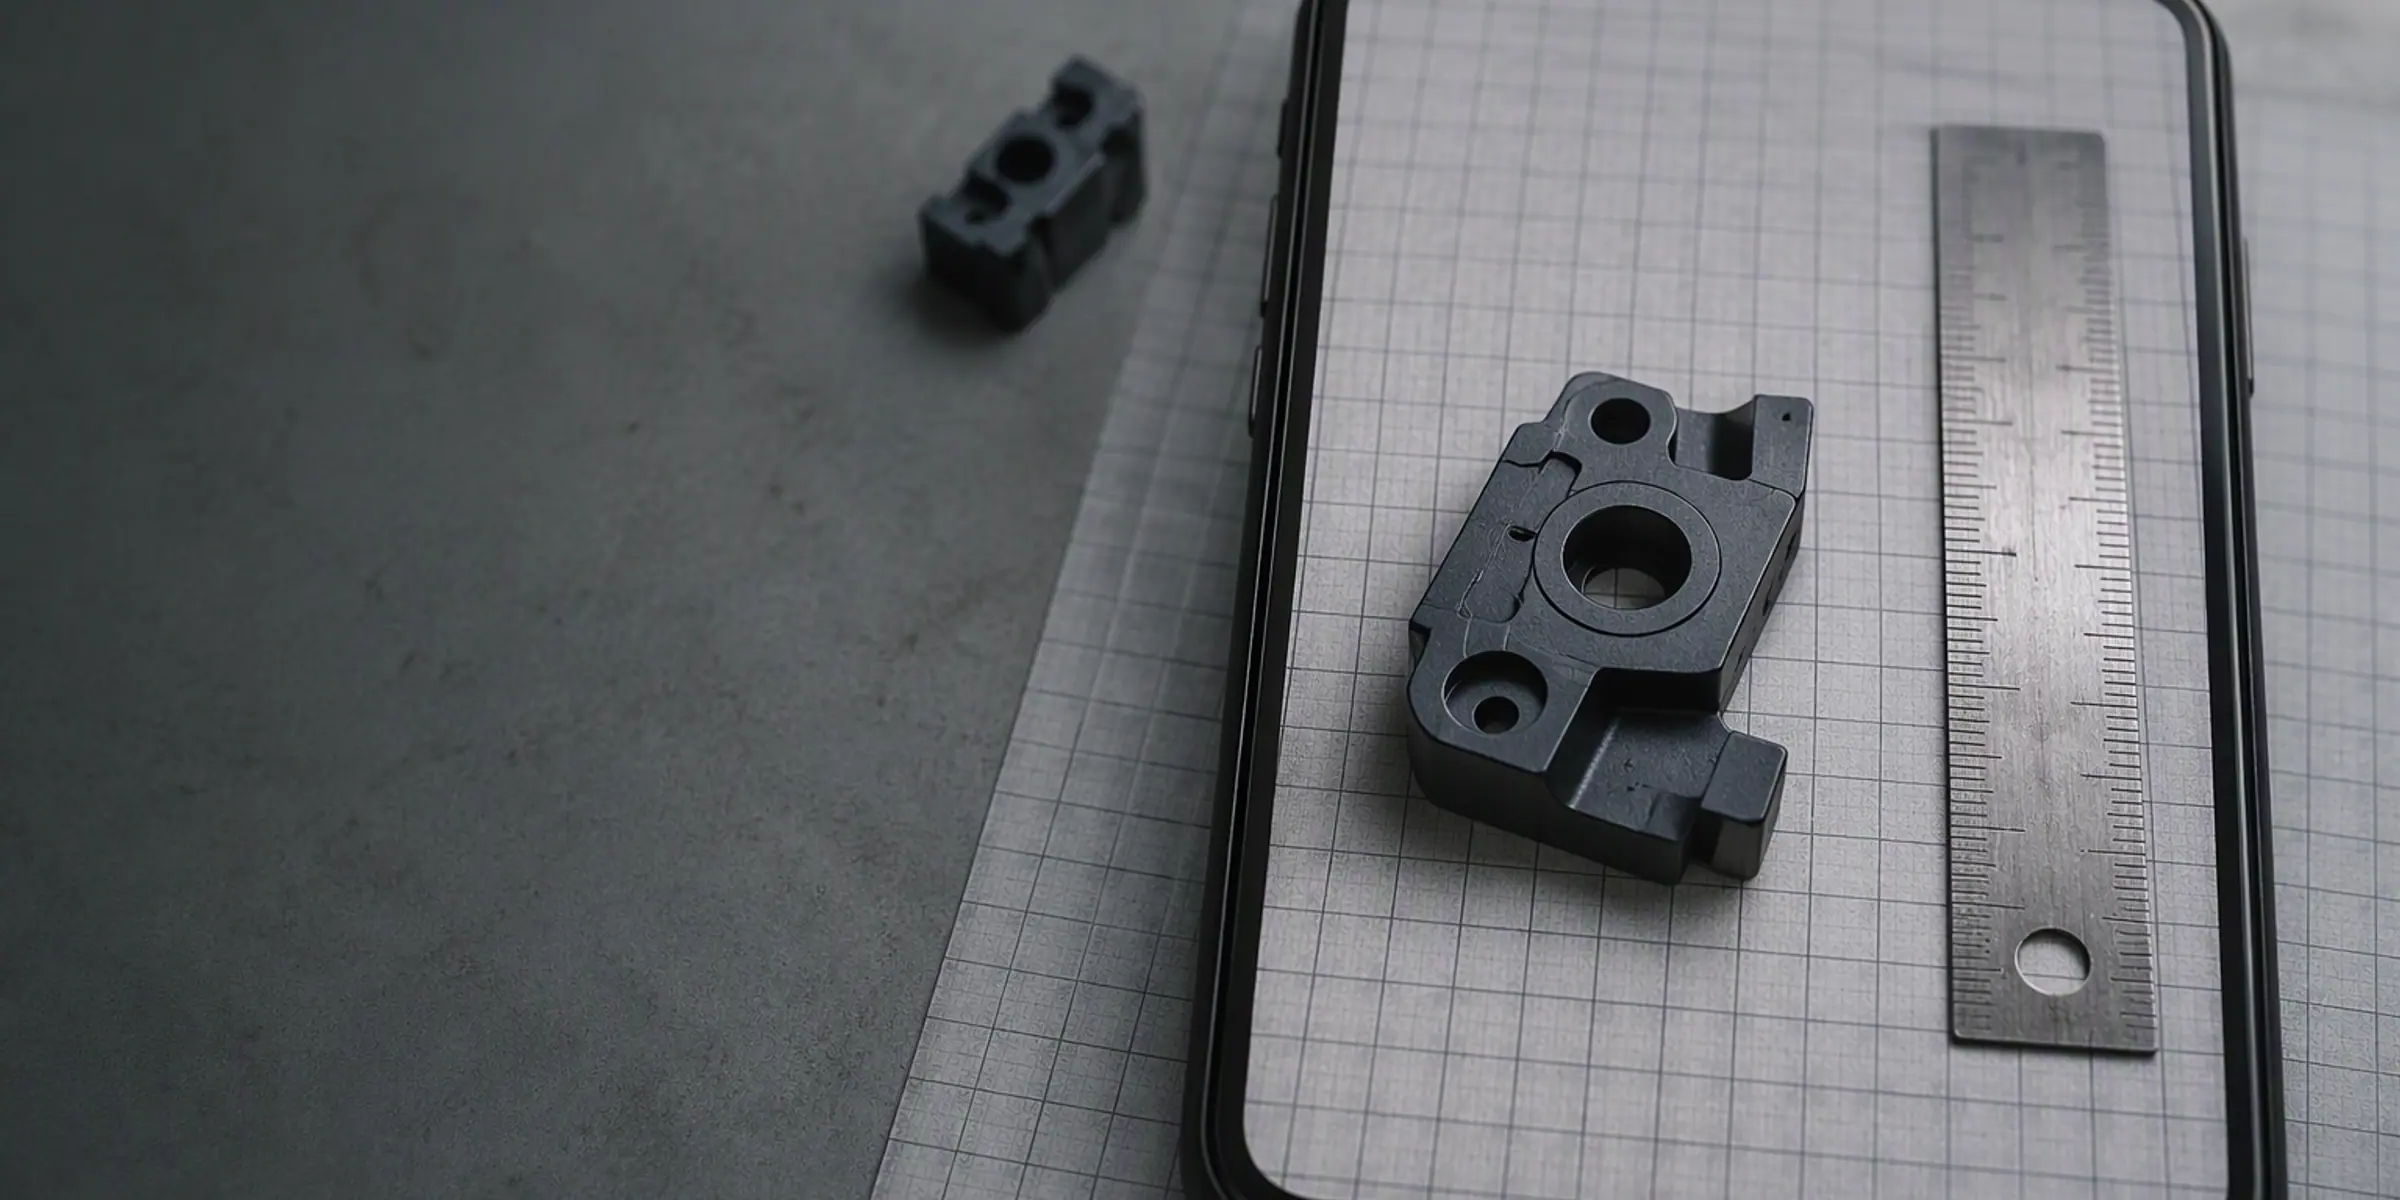
A sketch does not need to be to scale, and it does not need to be neat. What it needs is the outline, the features that mate with something else, and dimensions on the parts that have to fit. We read the drawing, work out the geometry in three dimensions, then come back with the three or four numbers a flat drawing cannot settle — depth, draft, thread pitch, or the radius of a curve that was drawn freehand. Most sketches arrive as a phone photo of a page from a notebook, often with the part resting on the paper next to it. That is a workable starting point. You do not need drawing software, a plotter, or a title block.
What a sketch has to show
A flat drawing fixes the outline and the position of features. It does not fix depth, which is why one side view plus one top view carries roughly twice the information of two views of the same face. Draw the part the way you would explain it to someone at a workbench: outline first, then holes, then everything that has to line up with another part.
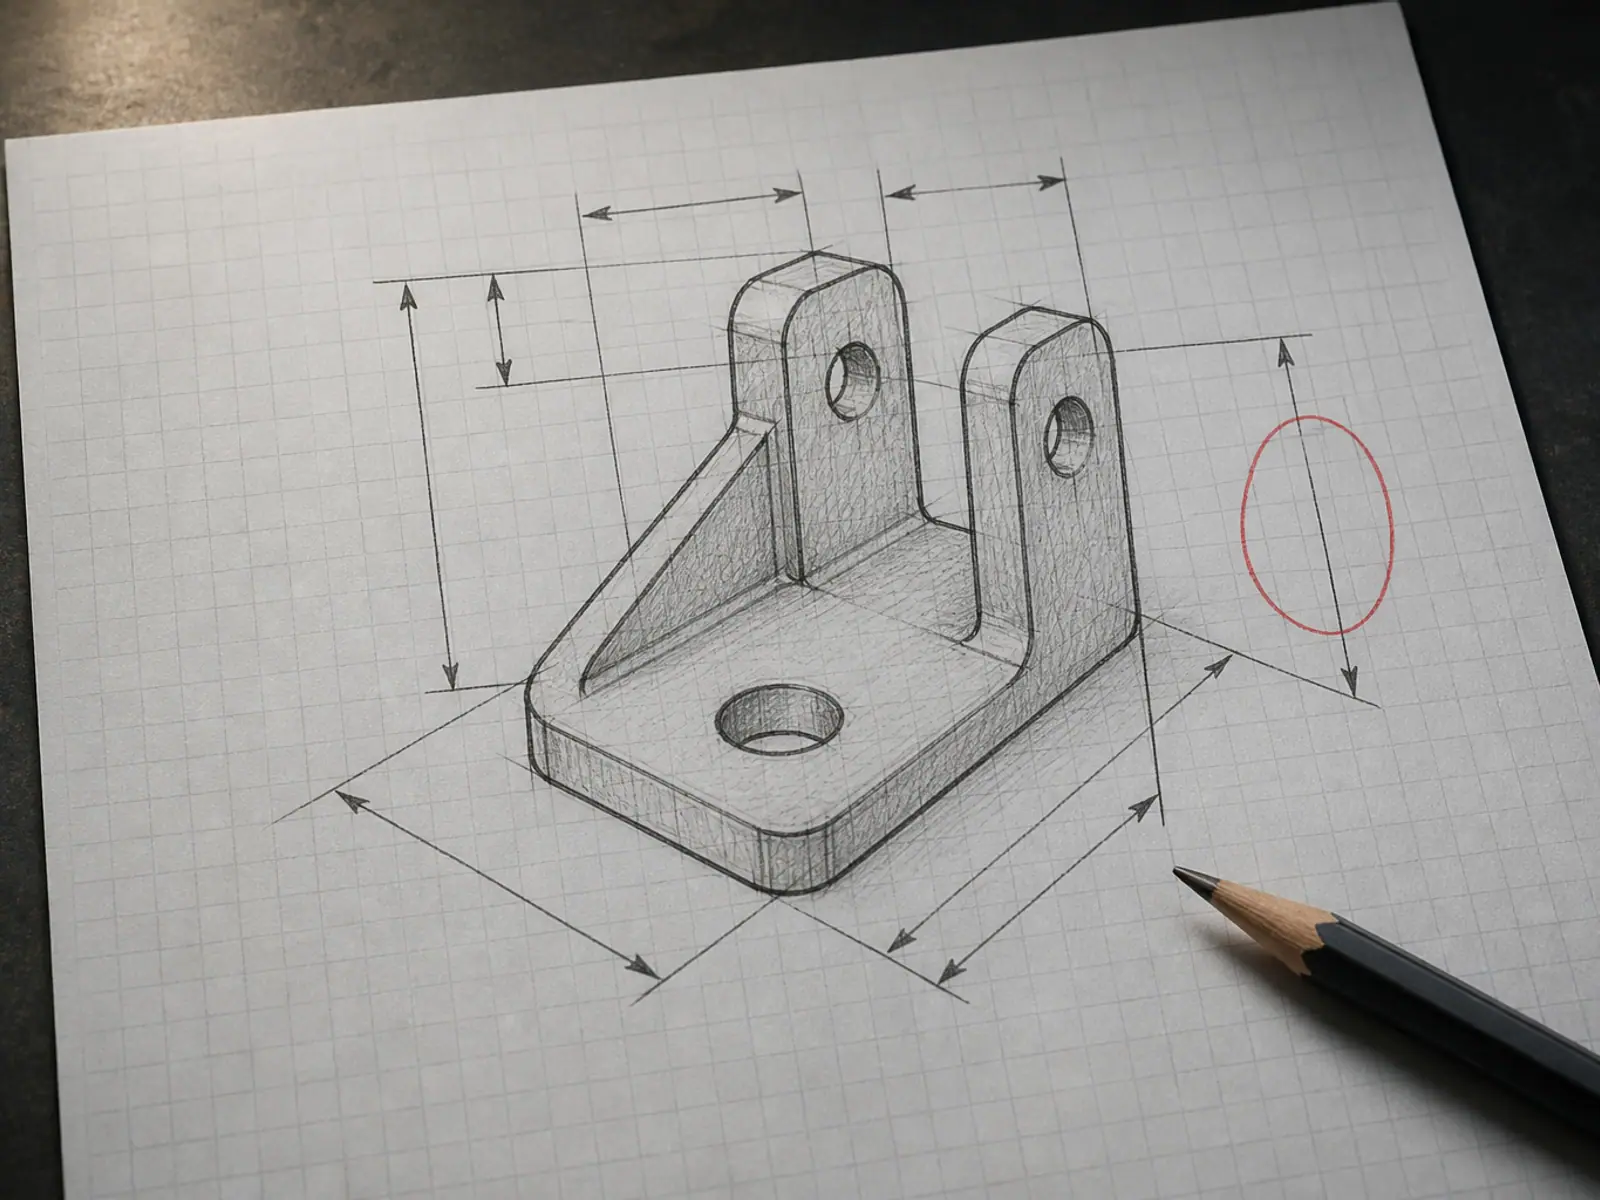
Scale does not matter and tidiness does not matter. What matters is that each dimension has two clear ends and that its arrows point at the feature you actually mean. A dimension drawn between the wrong two edges is worse than no dimension at all, because it looks authoritative and gets taken as fact.
The four views that answer almost everything
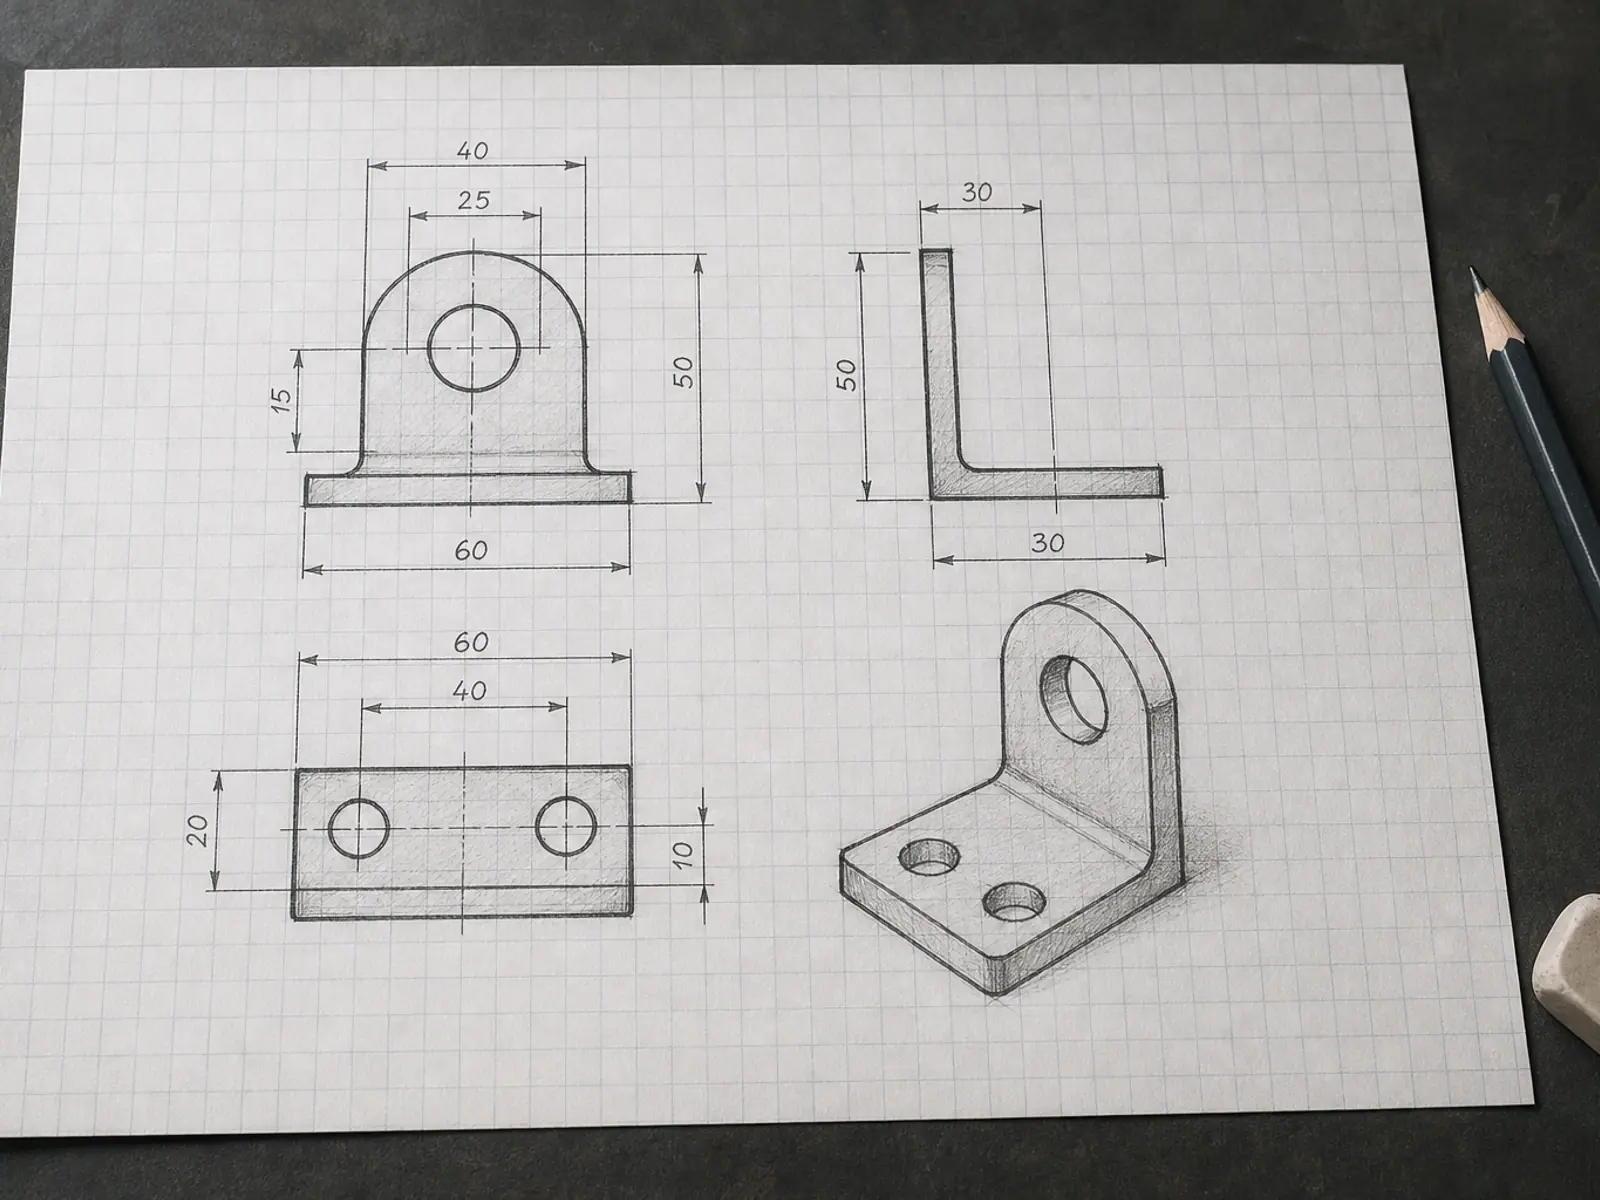
- Front view: the outline, plus overall height and width.
- Side view: thickness, and any step, boss, flange or relief cut.
- Top view: hole positions marked as centre-to-centre distances, not from an edge.
- One detail sketch of the feature you are least sure about, drawn larger, with its own dimensions.
- If a part still exists, lay it on the page and include it in the photo. Even without measurement, it lets us sanity-check the proportions of the drawing.
Which dimensions decide whether the part fits
A model can be correct everywhere except one interface and still be useless. So we rank the numbers rather than collecting all of them equally: the interfaces come first, the overall envelope second, everything cosmetic last. This is the order the modelling work follows.
Dimension priority on a sketch project
| Priority | What it is | Why it comes first |
|---|---|---|
| 1 | Mating interfaces: hole spacing, bore diameters, thread size, seal grooves | These decide whether the new part can be assembled at all. |
| 2 | Overall envelope: length, width, height, and the space it has to go back into | Decides whether it fits the machine or product it came from. |
| 3 | Wall thickness and rib positions | Decides whether the replacement survives the load that broke the original. |
| 4 | Fillets, chamfers, cosmetic curves | Adjustable later without changing the fit. |
How to mark dimensions on a hand drawing
Mark each dimension once, on the view where it reads most clearly, and write the unit next to it. Mixing millimetres and inches on the same page is the most common cause of a revision that did not need to happen.
- Write the unit with the number: 42 mm, not 42.
- Measure hole spacing from centre to centre, and give the hole diameter separately.
- Put a question mark next to any dimension you are unsure of. A flagged guess is useful; a hidden guess is not.
- Photograph the page square on, paper flat, whole sketch inside the frame. A tilted photo of a page distorts the proportions we would otherwise read from it.
- Shade or hatch the surfaces that have to sit flush against another part, so the interfaces are obvious at a glance.
From sketch to printable model
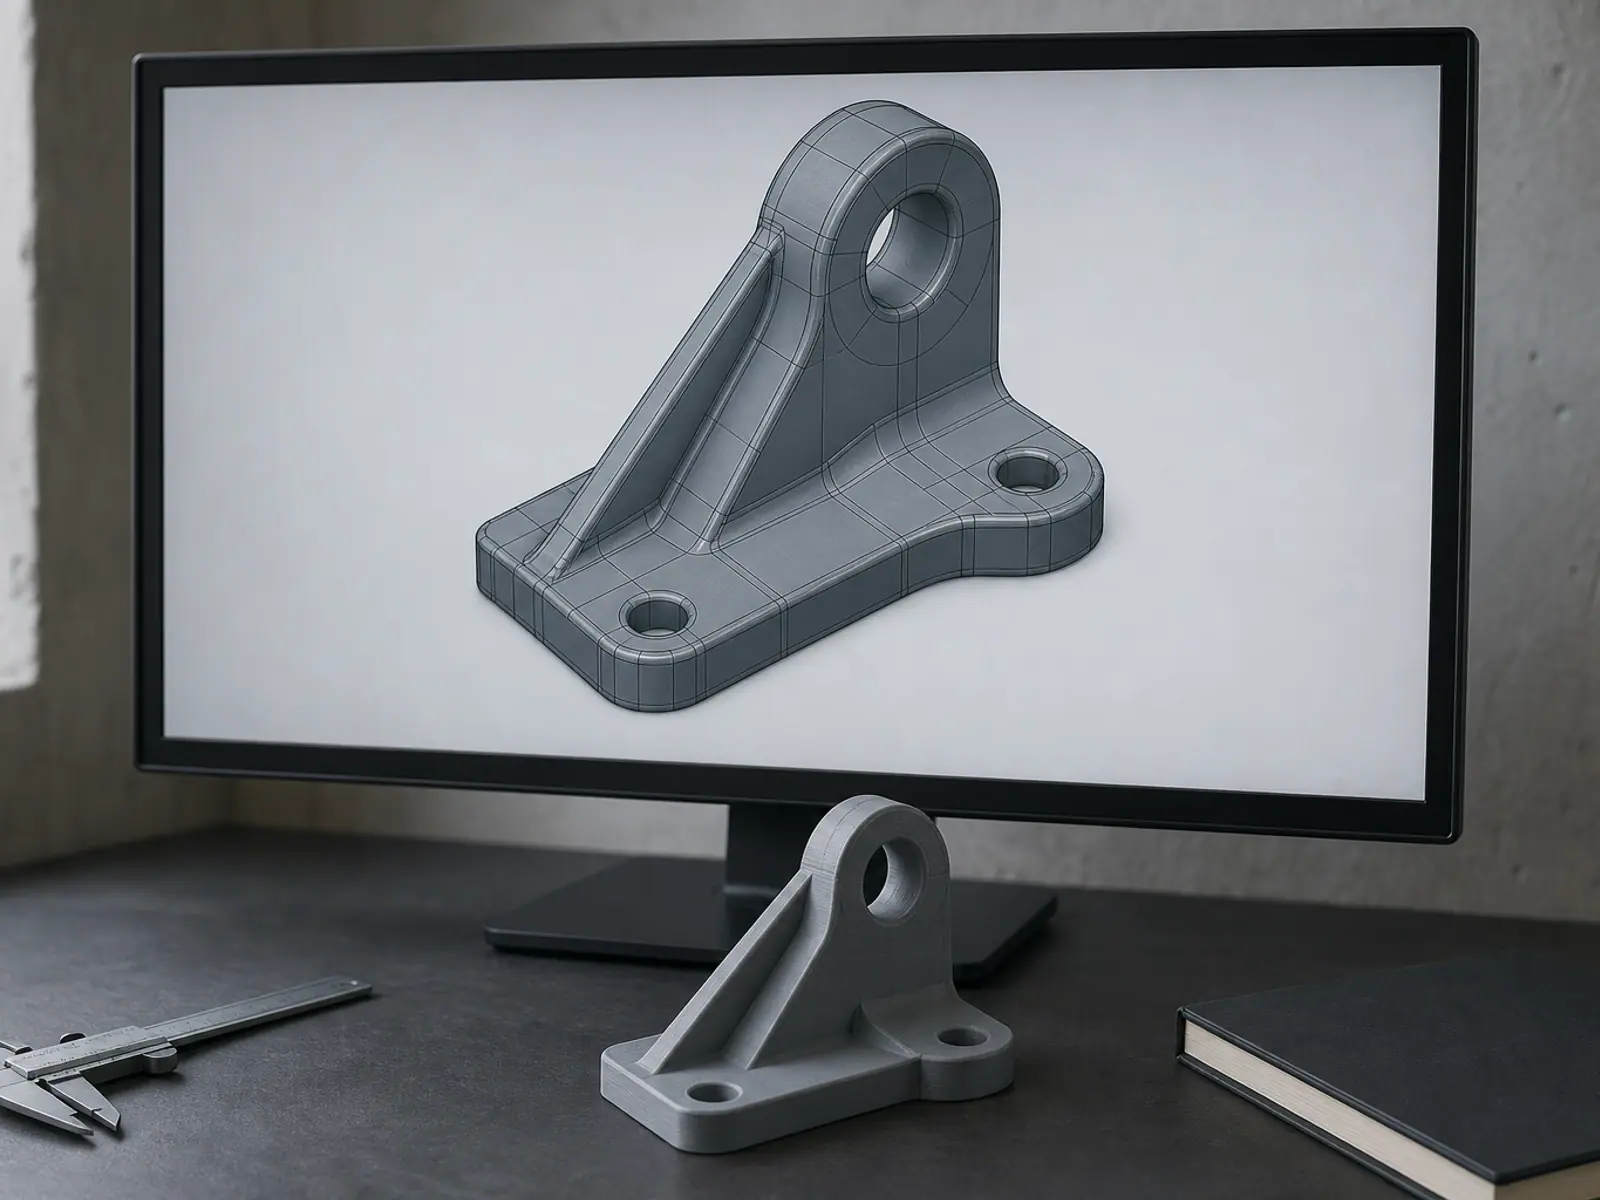
Once the drawing is clear, we build the solid model and send it back as a dimensioned drawing or a screen capture with the measurements called out. You confirm the numbers, and only then is the file exported for printing. Anything the sketch left open — a blind hole depth, a thread pitch, a fillet radius — gets asked about in writing before modelling, not assumed.
Single-part sketch projects usually land inside the standard window of 2–8 business days, and the first reply with the missing-dimension list normally goes out within three hours of your message. Editable CAD is available if you want to keep modifying the part yourself later, and prototype printing is an optional next step once the model is confirmed.
No dimensions on the drawing at all? Photograph the part next to a rule, describe what it has to do, and we will send back the short list of measurements to take.
Related services
Frequently asked questions
Frequently asked questions
Do I need a fully dimensioned drawing?
Can you work from a photo of a sketch in a notebook?
What if my sketch is not to scale?
Can you turn my sketch into a 3D model I can edit myself?
How do I show a curved or organic shape on a sketch?
Your Drawing, Rebuilt as Print-Ready CAD.
A sketch does not need to be to scale, and it does not need to be neat. What it needs is the outline, the features that mate with something else, and dimensions on the parts that have to fit. We read the drawing, work out the geometry in three dimensions, then come back with the three or four numbers a flat drawing cannot settle — depth, draft, thread pitch, or the radius of a curve that was drawn freehand. Most sketches arrive as a phone photo of a page from a notebook, often with the part resting on the paper next to it. That is a workable starting point. You do not need drawing software, a plotter, or a title block.